Install Mysql installation on cenos 7
การติดตั้ง mysql บน enterprise centos 7 สามารถเลือกติดตั้ง ได้จาก MySQL community yum repository หรือ mariadb
Install Reposioty
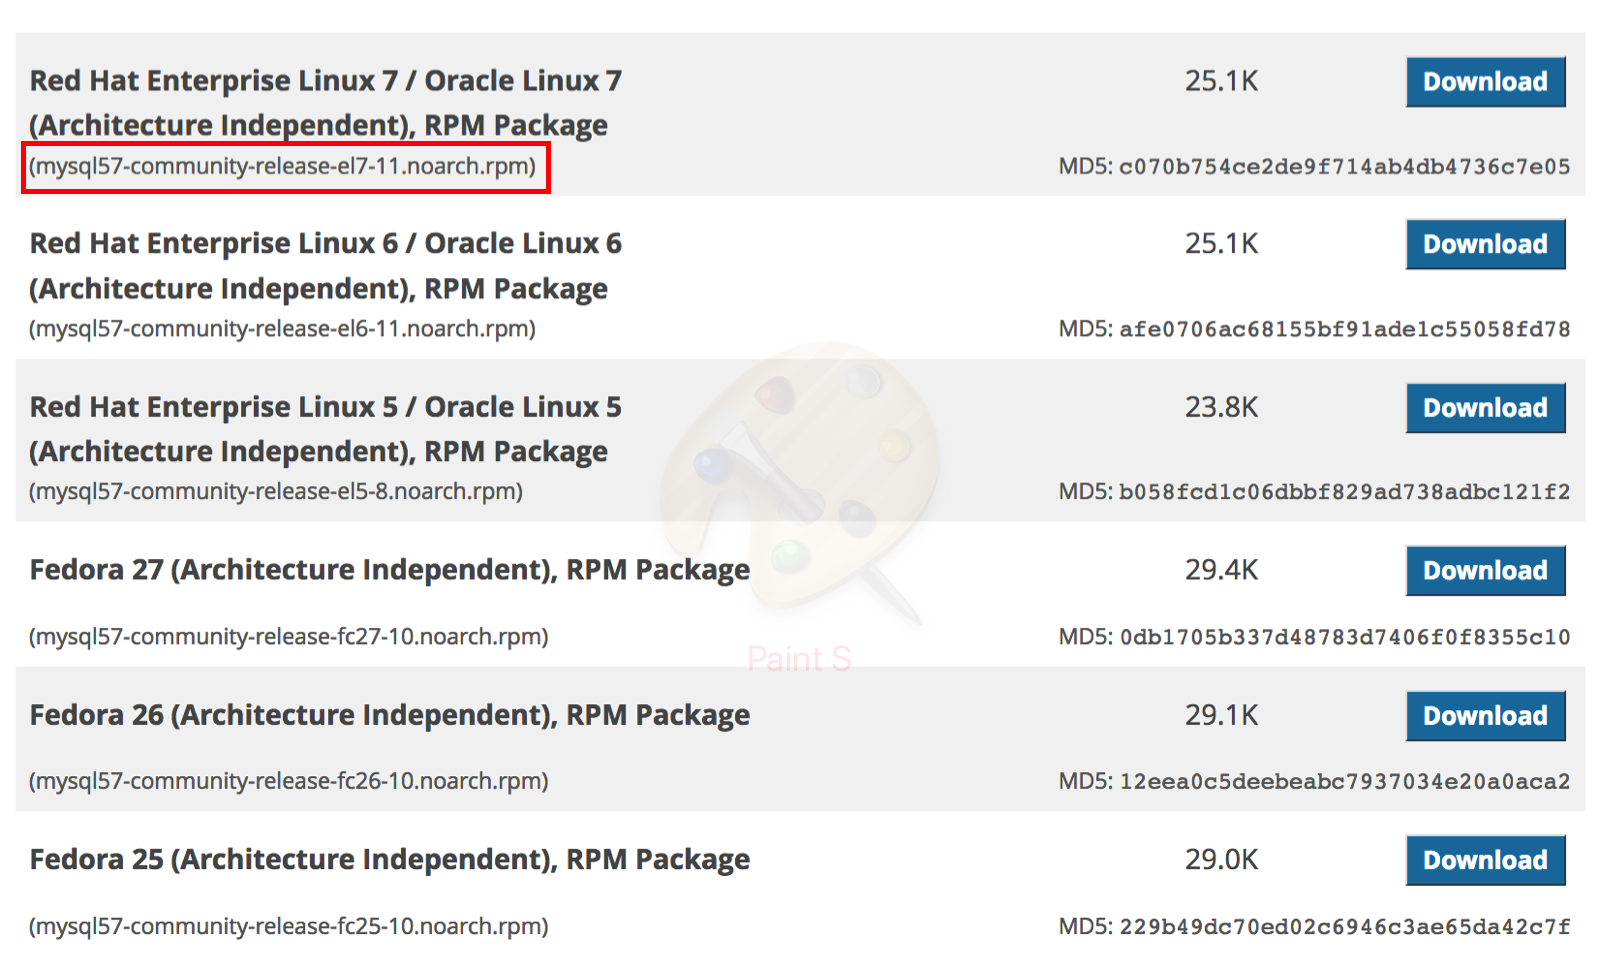
MYSQL community เปิด browser ไปที่
https://dev.mysql.com/downloads/repo/yum/

    wget https://dev.mysql.com/get/mysql57-community-release-el7-11.noarch.rpm
    md5sum mysql57-community-release-el7-11.noarch.rpm

    output
    c070b754ce2de9f714ab4db4736c7e05  mysql57-community-release-el7-11.noarch.rpm
ตรวจสอบค่า output ออกมา
    sudo rpm -ivh mysql57-community-release-el7-11.noarch.rpm
    sudo yum install mysql-server
    sudo systemctl start mysqld
    sudo systemctl enable mysqld
    sudo systemctl status mysqld
Output
    ● mysqld.service - MySQL Server
       Loaded: loaded (/usr/lib/systemd/system/mysqld.service; enabled; vendor preset: disabled)
       Active: active (running) since Mon 2018-02-12 04:10:30 UTC; 7min ago
         Docs: man:mysqld(8)
                       http://dev.mysql.com/doc/refman/en/using-systemd.html
     Main PID: 4378 (mysqld)
       CGroup: /system.slice/mysqld.service
               └─4378 /usr/sbin/mysqld --daemonize --pid-file=/var/run/mysqld/mysqld.pid

    Feb 12 04:10:25 localhost.localdomain systemd[1]: Starting MySQL Server...
    Feb 12 04:10:30 localhost.localdomain systemd[1]: Started MySQL Server.
security firewall
ตั้งค่า ไฟล์วอล ที่ พอร์ต 3306 โดยกำหนดให้กับ interface eth1 ใน zone truested
การ active โซนใน ไฟล์วอลจะเกิดขึ้นโดยอัตโนมัติทันทีที่มีการ add interace ให้แก่ โซน
ในคำสั่ง firewall-cmd จะต้อง ระบุบ --permanent ทุกครั้ง และจึงทำการ --reload
    sudo systemctl start firewalld
    sudo systemctl enable firewalld
    sudo firewall-cmd --get-zones
    sudo firewall-cmd --get-default-zone
    sudo firewall-cmd --list-all

    //output
    public (active)
      target: default
      icmp-block-inversion: no
      interfaces: eth0 eth1
      sources:
      services: dhcpv6-client ssh
      ports:
      protocols:
      masquerade: no
      forward-ports:
      sourceports:
      icmp-blocks:
      rich rules:

    sudo firewall-cmd --permanent --add-interface=eth1 --zone=trusted
    sudo firewall-cmd --permanent --zone=trusted --add-source=192.168.30.0/24
    sudo firewall-cmd --permanent --zone=trusted --add-port=3306/tcp
    sudo firewall-cmd  --reload
    $ firewall-cmd --get-active-zones
    //output
    public
      interfaces: eth0
    trusted
      interfaces: eth1
      sources: 192.168.30.0/24
หลังการติดตั้ง installer ได้ทำการสร้าง temporary password ให้ตรวจสอบดังนี้
    $ sudo grep 'temporary password'  /var/log/mysqld.log
    2018-02-12T04:10:28.290165Z 1 [Note] A temporary password is generated \
    for root@localhost: ?eUbcipl:8E8


    $ sudo mysql_secure_installation

    Securing the MySQL server deployment.

    Enter password for user root:
หลังจากกรอก รหัสชั่วคราวเรียบร้อย ระบบจะให้เราทำการเปลี่ยน password อีกครั้งword อีกครั้ง
    The existing password for the user account root has expired. Please set a new password.

    New password:
ให้กรอก password มีความยาว 12 character ประกอบด้วยอักษรตัวเลข ตัวใหญ่ ตัวเลข และ อักขระพิเศษ ระบบจะแสดงผลยืนยันความมั่นใจอีกครั้ง หากเรามัน่ใจให้ตอบ no
    Output
    Estimated strength of the password: 100
    Change the password for root ? (Press y|Y for Yes, any other key for No) :
ยกเลิก anonymous users
     ... skipping.
    By default, a MySQL installation has an anonymous user,
    allowing anyone to log into MySQL without having to have
    a user account created for them. This is intended only for
    testing, and to make the installation go a bit smoother.
    You should remove them before moving into a production
    environment.

    Remove anonymous users? (Press y|Y for Yes, any other key for No) : y
    Success.
ยกเลิก root login remote
    Normally, root should only be allowed to connect from
    'localhost'. This ensures that someone cannot guess at
    the root password from the network.

    Disallow root login remotely? (Press y|Y for Yes, any other key for No) : y
    Success.

    By default, MySQL comes with a database named 'test' that
    anyone can access. This is also intended only for testing,
    and should be removed before moving into a production
    environment.
remove test database
    Remove test database and access to it? (Press y|Y for Yes, any other key for No) : y
     - Dropping test database...
    Success.

     - Removing privileges on test database...
    Success.

    Reloading the privilege tables will ensure that all changes
    made so far will take effect immediately.
reload
    Reload privilege tables now? (Press y|Y for Yes, any other key for No) : y
    Success.

    All done!
Login
ทำการ login mysql -u root -p -h localhost
    $ mysql -u root -p
    Enter password:
    Welcome to the MySQL monitor.  Commands end with ; or \g.
    Your MySQL connection id is 7
    Server version: 5.7.21 MySQL Community Server (GPL)

    Copyright (c) 2000, 2018, Oracle and/or its affiliates. All rights reserved.

    Oracle is a registered trademark of Oracle Corporation and/or its
    affiliates. Other names may be trademarks of their respective
    owners.

    Type 'help;' or '\h' for help. Type '\c' to clear the current input statement.

    mysql>
แต่หาก login ด้วย -h 192.168.30.10 จะไม่สามารถ ที่เข้าถึงได้ use root
    $ mysql -u root -p -h 192.168.30.10
    Enter password:
    ERROR 1130 (HY000): Host '192.168.30.1' is not allowed to connect to this MySQL server
กลับไปยัง เครื่อง mysql database
    mysql> CREATE USER 'dbadmin'@'localhost' IDENTIFIED BY 'P@ssw0rd';
    Query OK, 0 rows affected (0.00 sec)

    mysql> CREATE USER 'dbadmin'@'192.168.30.1' IDENTIFIED BY 'P@ssw0rd';
    Query OK, 0 rows affected (0.00 sec)

    mysql> CREATE DATABASE mydatabase;

    mysql> use mysql;
    Database changed
    mysql> SELECT host,user FROM user;
    +--------------+---------------+
    | host         | user          |
    +--------------+---------------+
    | 192.168.30.1 | dbadmin       |
    | localhost    | dbadmin       |
    | localhost    | mysql.session |
    | localhost    | mysql.sys     |
    | localhost    | root          |
    +--------------+---------------+
    5 rows in set (0.00 sec)
Grant permission
GRANT type_of_permission ON database_name.table_name TO ‘username’@'localhost’;
type_of_permission สามารถเลือกได้ดังนี้
- ALL PRIVILEGES- as we saw previously, this would allow a MySQL user full access to a designated database (or if no database is selected, global access across the system)
- CREATE- allows them to create new tables or databases
- DROP- allows them to them to delete tables or databases
- DELETE- allows them to delete rows from tables
- INSERT- allows them to insert rows into tables
- SELECT- allows them to use the SELECT command to read through databases
- UPDATE- allow them to update table rows
- GRANT OPTION- allows them to grant or remove other users' privileges
    mysql> GRANT ALL PRIVILEGES ON mydatabase.* to 'dbadmin'@'localhost';
    Query OK, 0 rows affected (0.00 sec)

    mysql> GRANT ALL PRIVILEGES ON mydatabase.* to 'dbadmin'@'192.168.30.1';
    Query OK, 0 rows affected (0.00 sec)

    mysql> FLUSH PRIVILEGES;

    mysql> SHOW GRANTS FOR dbadmin@localhost;
    +-----------------------------------------------------------------+
    | Grants for dbadmin@localhost                                    |
    +-----------------------------------------------------------------+
    | GRANT USAGE ON *.* TO 'dbadmin'@'localhost'                     |
    | GRANT ALL PRIVILEGES ON `mydatabase`.* TO 'dbadmin'@'localhost' |
    +-----------------------------------------------------------------+
    2 rows in set (0.00 sec)
ทดสอบการ login จาก 192.168.30.1 (host) โดยการเปิด terminal ขึ้นมาใหม่จากเครื่อง host
    $ mysql -u dbadmin -p -h 192.168.30.10
    Enter password:
    Welcome to the MySQL monitor.  Commands end with ; or \g.
    Your MySQL connection id is 14
    Server version: 5.7.21 MySQL Community Server (GPL)

    Copyright (c) 2000, 2018, Oracle and/or its affiliates. All rights reserved.

    Oracle is a registered trademark of Oracle Corporation and/or its
    affiliates. Other names may be trademarks of their respective
    owners.

    Type 'help;' or '\h' for help. Type '\c' to clear the current input statement.

    mysql> SHOW databases;
    +--------------------+
    | Database           |
    +--------------------+
    | information_schema |
    | mydatabase         |
    +--------------------+
    2 rows in set (0.00 sec)
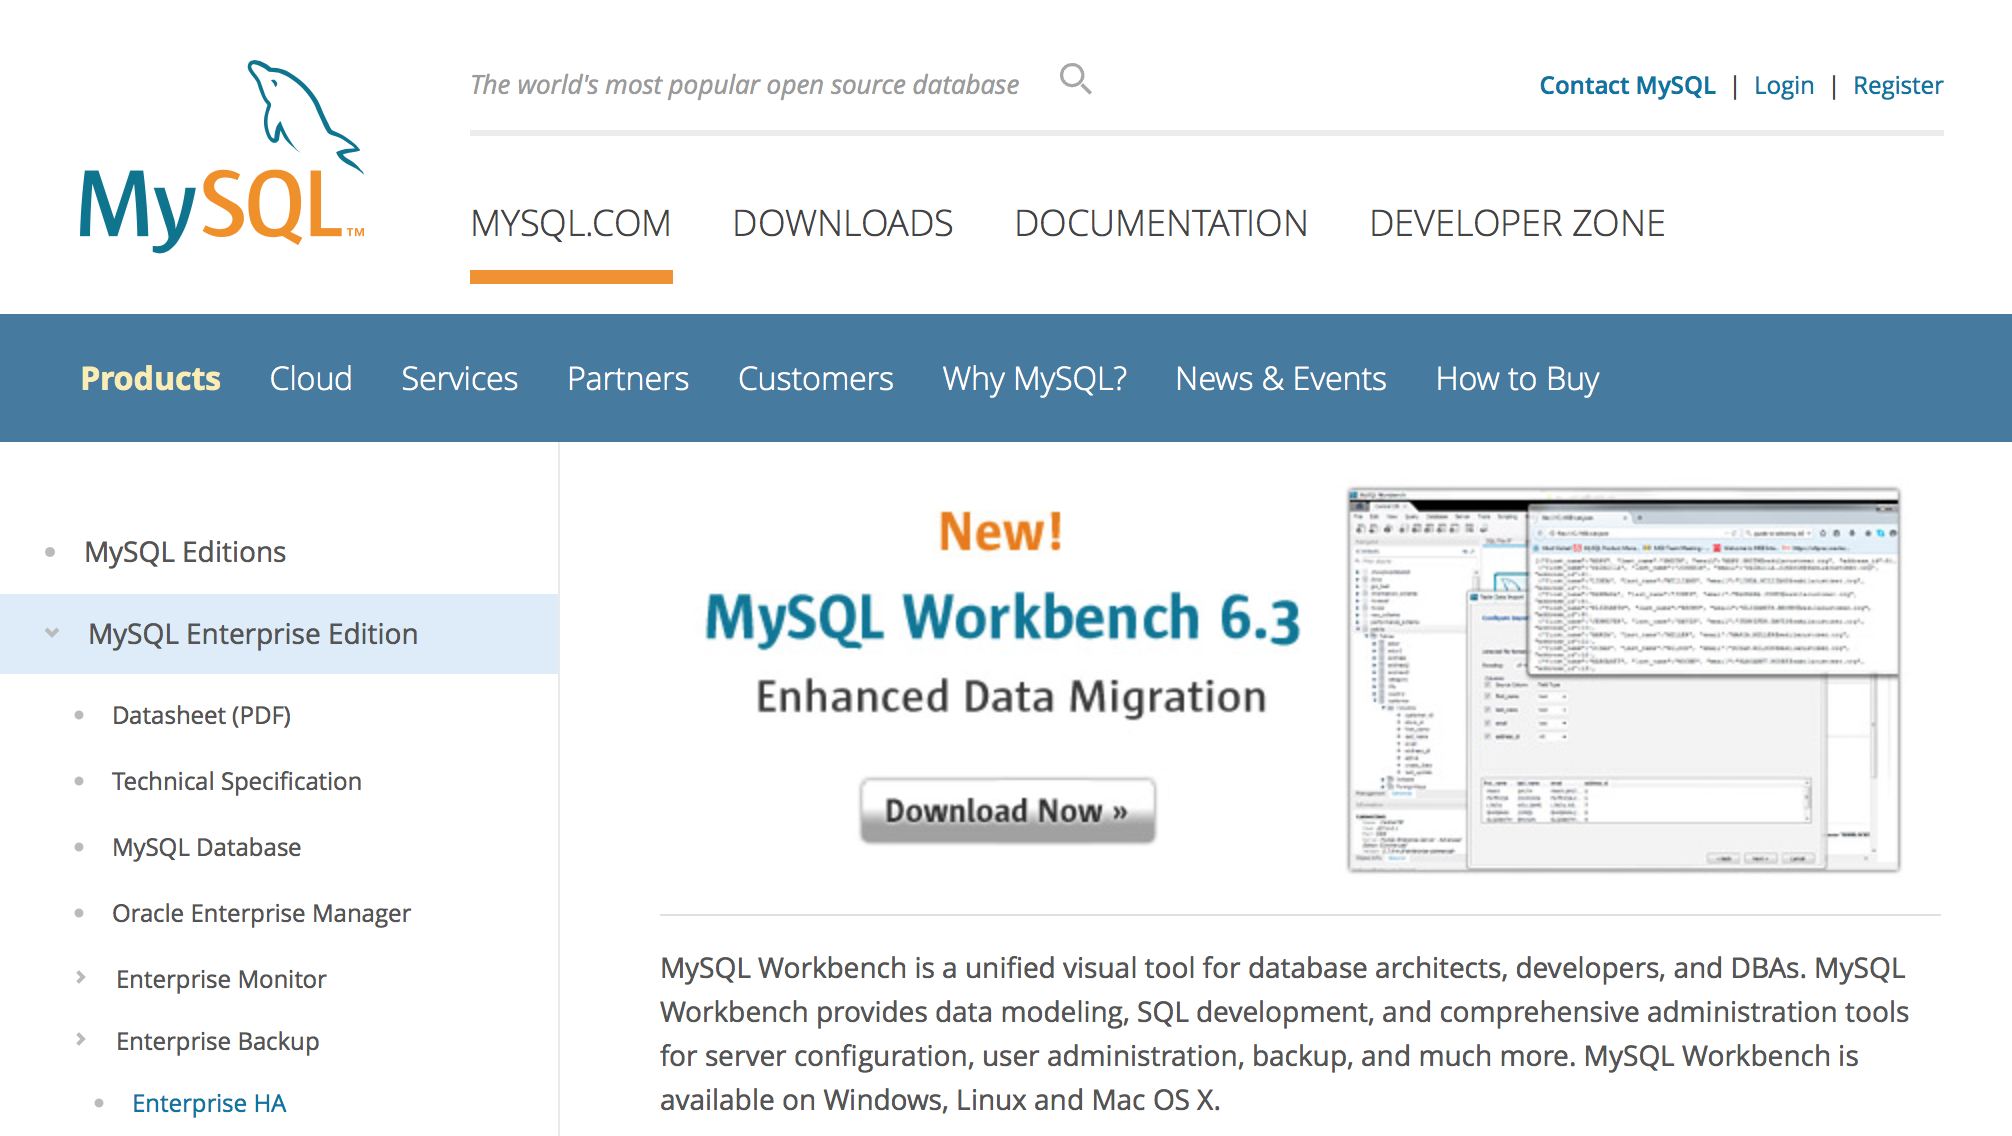
Install MYSQL Workbench
เป็นเครื่องมือสำหรับการบริหารจัดการ ฐานข้อมูล โดยไปยัง https://www.mysql.com/products/workbench/ <https://www.mysql.com/products/workbench/>_
Download ใช้งานได้ทั้ง window, linux , mac
